
DTF artwork preparation
Check the file before it becomes a printed problem
Set the intended print size, remove unwanted backgrounds, inspect the source and review the complete layout before upload.
The four-point preflight
Catch the expensive mistakes before upload.
A gang sheet can only reproduce what is in the file. Check size, transparency, source quality and the complete layout while changes are still easy.
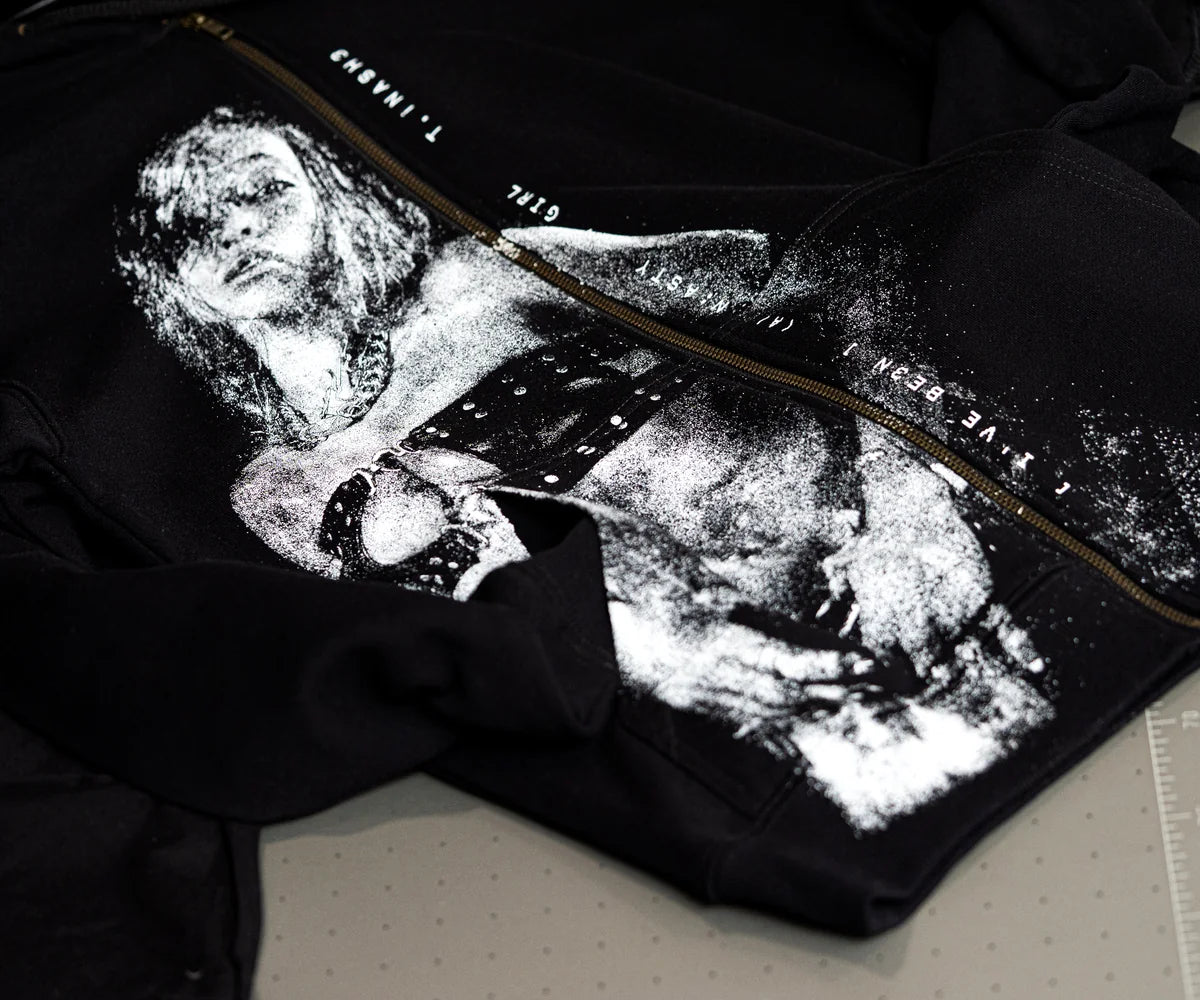 FINAL SIZE01 / FINAL SIZE
Design at the size you intend to press
Measure the usable print area on the garment, then set the artwork to that intended output size. Check every unique design separately—especially front, back, sleeve and name placements.
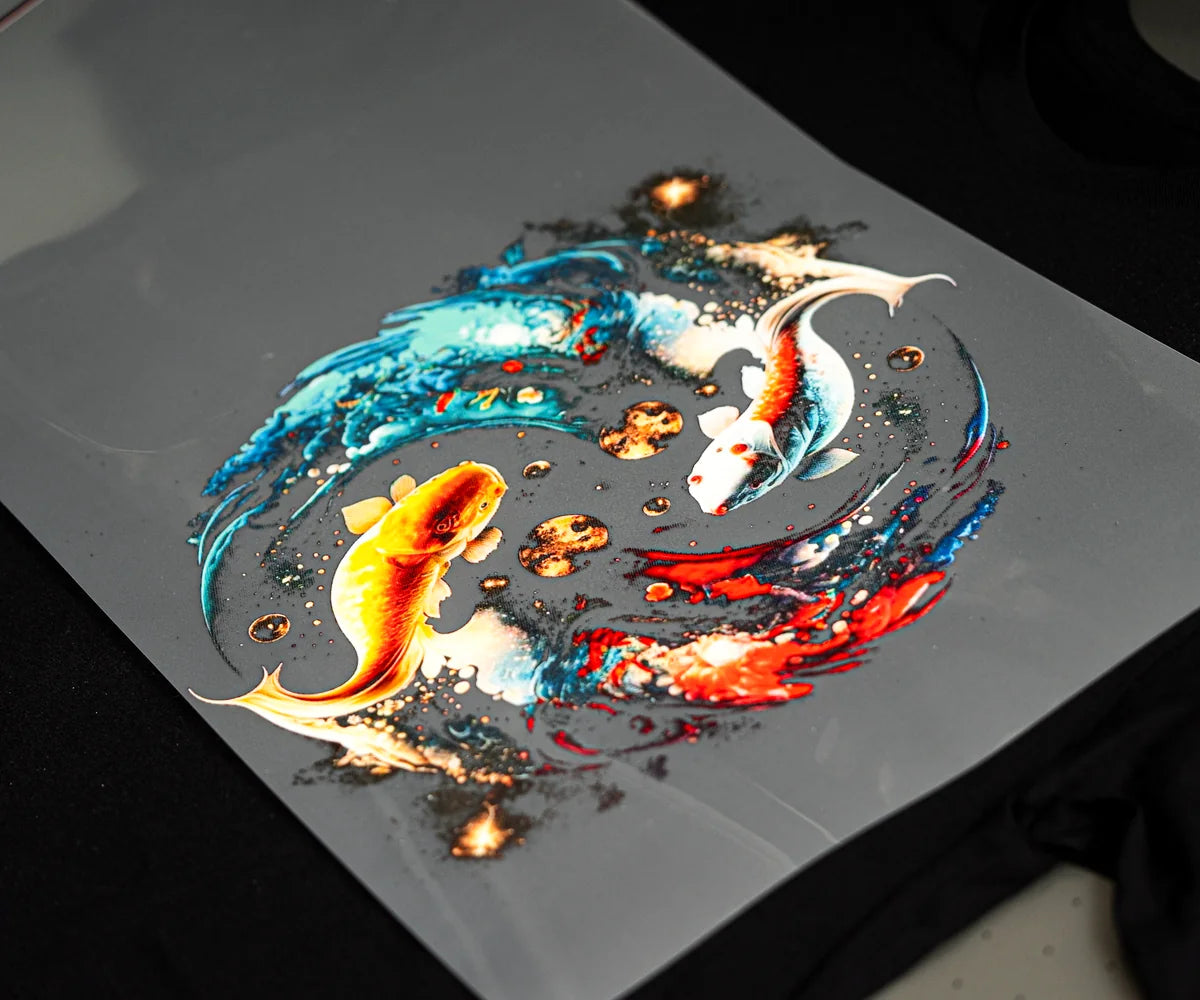 NO BACKGROUND BOX02 / BACKGROUND
Remove everything you do not want printed
Zoom in around outside edges, counters inside letters and fine details. A white canvas is not automatically transparent; if the background remains in the artwork, it may become part of the print.
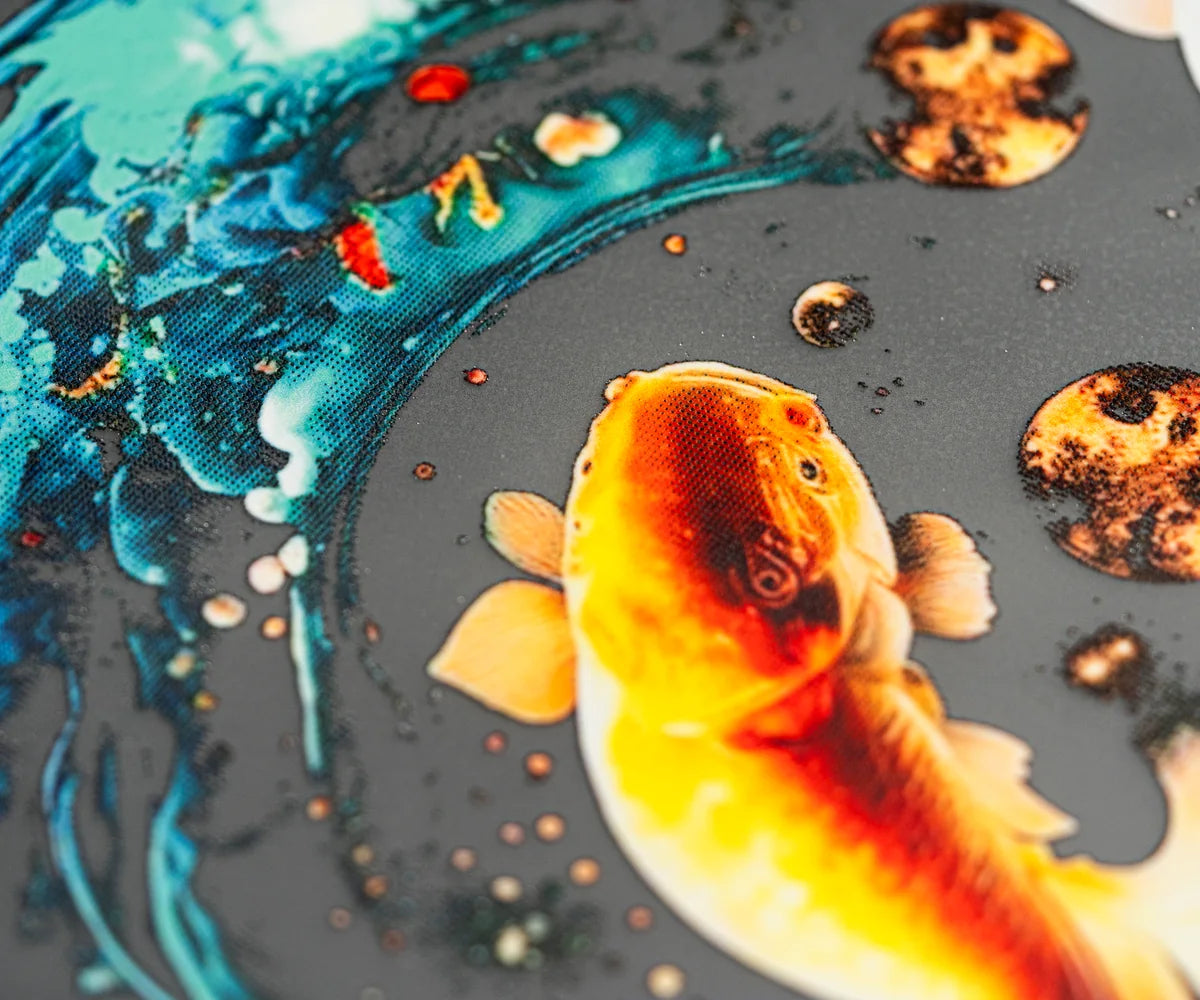 CHECK AT 100%03 / SOURCE QUALITY
Inspect the artwork at its intended size
Look for fuzzy edges, compression blocks, rough cut-outs and screenshots. Enlarging a small source does not restore missing detail, so begin with the cleanest original available.
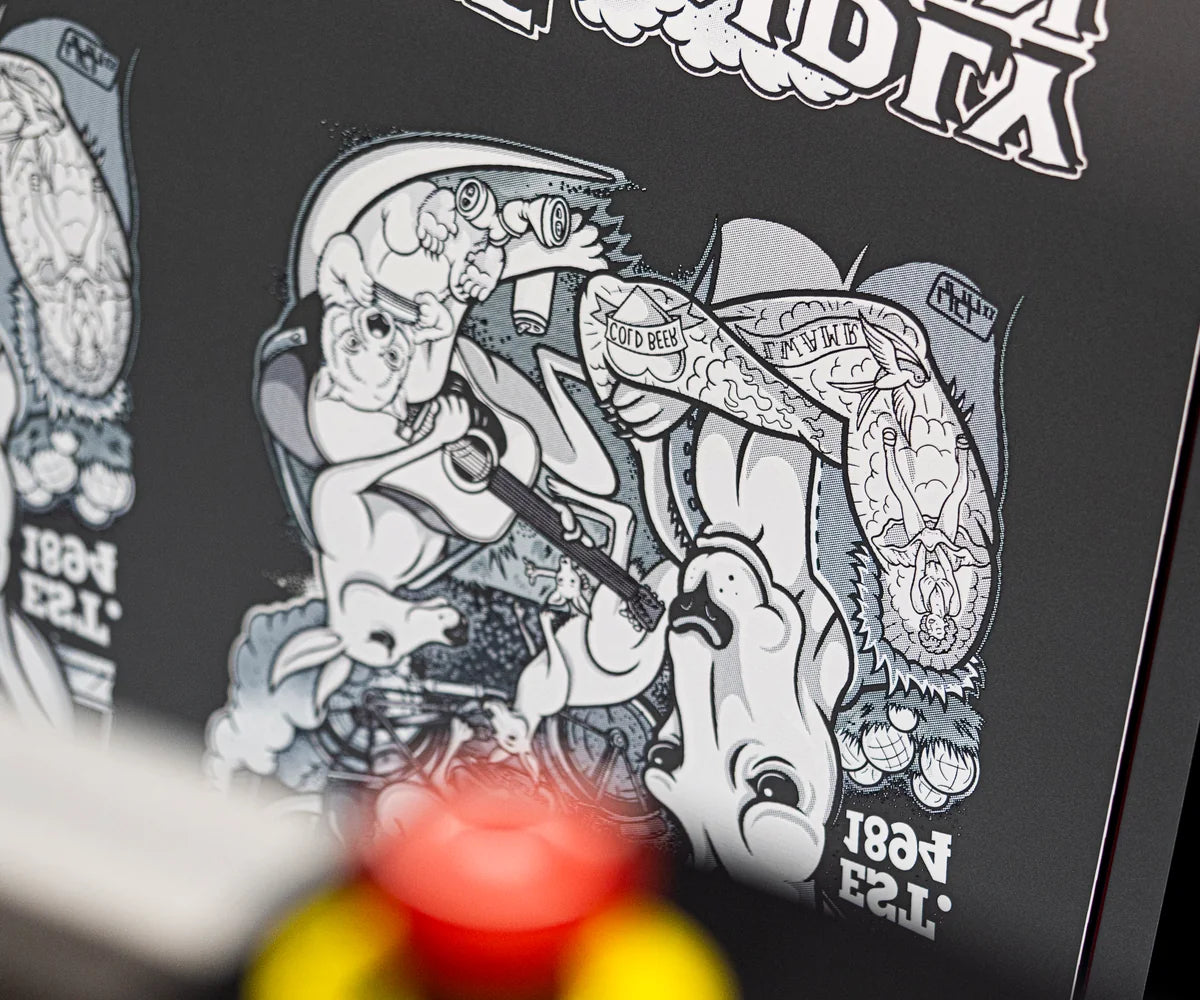 FULL SHEET04 / COMPLETE REVIEW
Check every placement, duplicate and orientation
Scan the full canvas, then zoom into crowded areas. Confirm no design overlaps another, clips at the sheet edge, appears at the wrong size or leaves too little practical room for separating transfers.
Start from the file you have
Individual designs or a complete sheet?
The preparation route changes depending on whether the layout still needs to be built.
Individual artwork files
Add each design to the builder, set its intended size, duplicate only after checking it, then arrange the complete sheet.
Build a gang sheet →Finished gang sheet
Treat the whole canvas as the production file. Check its overall dimensions, every design inside it and all spacing before choosing the print-ready path.
Upload your finished file →A useful last inspection
If you see this, check that.
- Soft or jagged edges
- View the source at the intended print size and replace low-quality or heavily compressed artwork.
- An unwanted box or fill
- Switch on a transparency grid and inspect around the full silhouette and inside open shapes.
- Designs feel inconsistent
- Compare the intended dimensions of every placement instead of judging only by how large each item looks on screen.
- Crowded or clipped artwork
- Review the complete sheet at its boundaries and leave practical separation between individual transfers.
Before you continue
A sixty-second final check can save a rebuild.
Use this list after the layout looks finished and before proceeding through the live order flow.
- 01
Every design has an intentional final size.
- 02
Unwanted backgrounds and stray pixels are removed.
- 03
Small text and fine details are legible at output size.
- 04
Copies, orientation and artwork count match the job.
- 05
Nothing overlaps or clips at a sheet boundary.
- 06
The file type matches your route: any of the ten formats for Create Design, or PNG, one-page PDF or one-page AI for Upload.