The most expensive metre is the one you have to print twice. A lot of avoidable reprints come down to the file: a logo that was too small at the source, a white box nobody noticed, or a design placed at the wrong size. Here's the check we'd run before uploading a finished sheet—and when the online builder is the easier route.
First: builder or upload?
| Create Design (builder) | Upload Gang Sheet (print-ready) | |
|---|---|---|
| Best when | You have separate designs to arrange | The full sheet is already laid out at final size |
| File types | PNG, JPG, JPEG, PDF, AI, SVG, WEBP, TIFF, BMP, GIF | PNG, one-page PDF, one-page AI |
| Who arranges the layout | You, online, in the builder | You, in your own design software |
EPS isn't accepted
EPS files aren't accepted on either route. Export to PDF or PNG instead.
If your layout isn't final, use the builder. The rest of this guide is for the upload route.

The seven-step check
1. Set the canvas to the sheet you'll order
Width 58 cm. Length 1 m to 5 m in 10 cm steps. Decide the length before you place artwork so the file and the order match—if your designs fit on 1.3 m, set up 1.3 m.
2. Work at 300 DPI or more, at final size
300 DPI at the size you press is the minimum; 400 DPI is recommended. Resolution has to be right at print size. Scaling a small image up in your layout software makes it bigger, not sharper.

3. Place every design at the size you want to press
The sheet prints exactly as supplied. Measure the print area on the garment you're decorating. Set each design to the size you want on the garment—not the size that happened to fit.
4. Leave room to cut
You'll cut the transfers apart after delivery. Leave enough space between designs to cut cleanly with scissors or a trimmer—about 1 cm is a practical starting point.
5. Remove anything you don't want printed
A transparent background is recommended, not required. But anything left in the file is printed—including a white box around a logo, a stray colour behind a design, or a hidden layer.

6. Export in the right format
- PNG with transparency, or
- PDF, one page, or
- AI, one page.
Multi-page PDF or AI files won't go through the upload route.
7. Do a final pass at 100% zoom
Scroll the whole sheet at 100% before you upload. Look for:
- soft or jagged edges;
- anything in the background you don't want printed;
- designs at the wrong size or orientation;
- designs too close together to cut apart;
- text or thin lines that look fragile at full size.
Five common file mistakes
| Mistake | What happens | The fix |
|---|---|---|
| Logo pulled from a website or social post | Soft, blocky edges at print size | Ask the client for the original file or a vector |
| White box behind the design | The box prints on the garment | Delete the background, export PNG with transparency |
| Design sized to fill space | Print is too big or too small on the garment | Measure the garment area and size to that |
| Designs touching | Hard to cut apart cleanly | Leave around 1 cm between designs |
| Multi-page PDF | File won't upload | Export one page, or combine onto one sheet |
Same file, two carriers
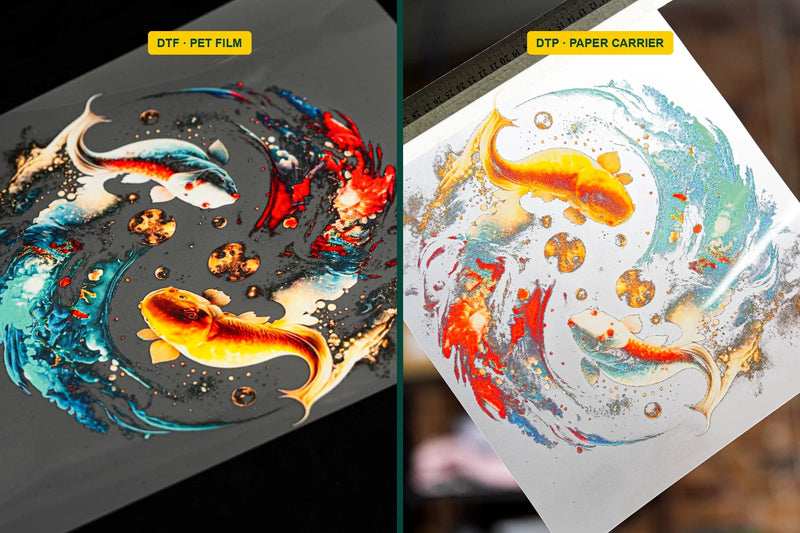
A print-ready file works for both DTF (PET film) and DTP (paper carrier). You don't need a separate version.
Getting files from clients
A lot of artwork arrives from customers, and a lot of problems start there. When you ask for a file, ask for:
- The original, not a screenshot or an image saved from social media.
- A vector file (AI, PDF or SVG) for logos and text, if they have one.
- The size they want on the garment, in centimetres.
- Garment colour, so you can check the design works on it.
If the only file available is small, say so before you print—a quick message now is cheaper than a reprint later.
Copy this checklist
- Canvas 58 cm wide, length matches the order (1–5 m, 10 cm steps)
- 300 DPI minimum at print size (400 recommended)
- Every design at the size it will be pressed
- About 1 cm between designs
- No white boxes or stray background
- PNG, one-page PDF or one-page AI
- Checked at 100% zoom
After it arrives
Cut the transfers apart and press. Both DTF and DTP are hot peel. Our workshop reference settings are in the application guide—if you already have settings that work on your press and fabric, keep using them, and test one garment before the run.
Order a DTF gang sheet →Order a DTP gang sheet →
Quick answers
What file types can I upload as a finished gang sheet?
PNG, one-page PDF or one-page AI. EPS isn't accepted. If you have separate designs to arrange, use the online builder instead, which accepts PNG, JPG, JPEG, PDF, AI, SVG, WEBP, TIFF, BMP and GIF.
What resolution do I need?
At least 300 DPI at the size you'll press. 400 DPI is recommended.
Do I need a transparent background?
It's recommended, not required. Anything left in the file is printed as supplied, including a white box behind a logo.
How big should the canvas be?
58 cm wide, and the length you're ordering: 1 m to 5 m in 10 cm steps.
Can I use the same file for DTF and DTP?
Yes. The same print-ready file works for both carriers.
Keep reading: Six ways to lower your cost per print · Full artwork setup guide